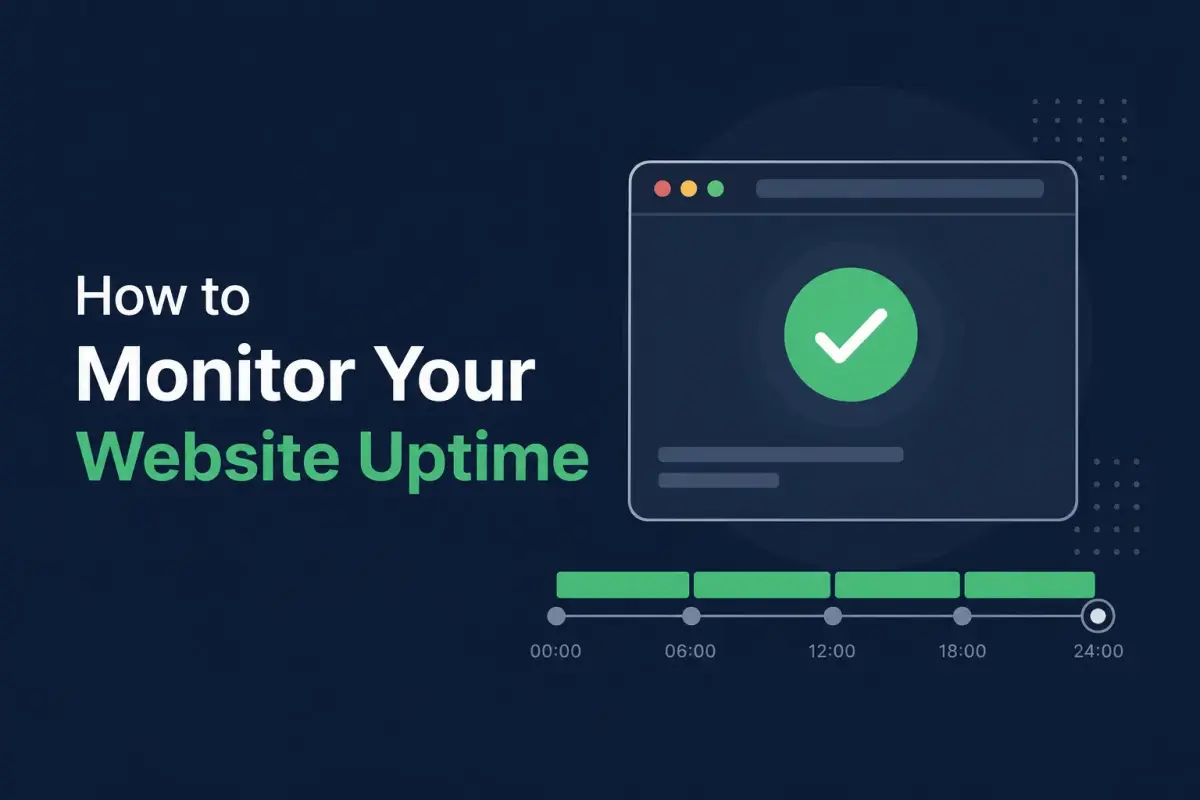
How to Monitor Your Website Uptime: A Practical Guide
Your website is the front door to your business. When it's down, customers can't find you, transactions fail, and trust erodes. Uptime monitoring ensures you know about problems before your users do.
This guide walks you through setting up effective uptime monitoring — what to track, how to configure alerts, and what to do when things break.
What Is Uptime Monitoring?
Uptime monitoring is the practice of automatically checking whether your website, API, or web service is available and responding correctly. A monitoring tool sends HTTP requests to your endpoints at regular intervals and alerts you when something goes wrong.
The goal is simple: detect downtime faster than your users do.
What Should You Monitor?
Most teams start by monitoring their homepage and stop there. That's a mistake. Here's what you should actually be tracking:
Your Main Website
The obvious one. Monitor your homepage and any critical landing pages. If your marketing site goes down, you're losing visitors and potentially search rankings.
Your API Endpoints
If you offer an API — whether for customers or internal use — monitor its health endpoints. A website that loads fine while the API is broken can be worse than total downtime because users see the interface but nothing works.
Authentication Flows
Login pages and authentication endpoints are critical paths. If users can't sign in, they can't use your product. Monitor your login endpoint separately from the main site.
Payment and Checkout
If you process payments, your checkout flow is your revenue pipeline. Monitor the endpoints involved in payment processing. Even a few minutes of checkout downtime during peak hours can mean significant lost revenue.
Third-Party Dependencies
If your application depends on external services (payment gateways, email providers, CDNs), consider monitoring their status endpoints too. When a dependency goes down, you want to know whether the problem is yours or theirs.
How Often Should You Check?
Check frequency depends on how critical the service is and how quickly you need to respond:
- Every 1 minute: Production websites, APIs, and anything customer-facing. This is the standard for most teams. Downtime is detected within 1-2 minutes.
- Every 5 minutes: Internal tools, staging environments, or services where a few minutes of delay is acceptable.
- Every 15-30 minutes: Low-priority monitoring, development environments, or services with known maintenance windows.
For most production services, 1-minute checks strike the right balance between detection speed and resource efficiency.
Setting Up Monitoring Step by Step
1. Choose Your Endpoints
List every URL that matters. Start with:
- Your homepage (
https://yoursite.com) - Your API health check (
https://api.yoursite.com/health) - Your login page (
https://yoursite.com/login) - Any critical subdomains
2. Define Expected Responses
For each endpoint, specify what a "healthy" response looks like. Usually this means:
- HTTP 200 for web pages and APIs
- HTTP 301 or 302 for redirects (if expected)
- HTTP 204 for health check endpoints that return no content
If your monitoring tool supports it, validate the response body too. A page that returns 200 but shows an error message is still broken.
3. Configure Notifications
Alerts are only useful if they reach you. Set up notifications through channels your team actually checks:
- Telegram for instant mobile notifications
- Webhooks to pipe alerts into Slack, Discord, or your incident management tool
- Email for less urgent notifications and daily summaries
Avoid alert fatigue by configuring sensible thresholds. A single failed check might be a network blip. Two or three consecutive failures is likely a real problem.
4. Set Up a Status Page
A public status page serves two purposes:
- It lets your users check service health without contacting support
- It demonstrates transparency and builds trust
Include your main services on the status page and keep it updated during incidents. Users are more forgiving when they can see you're aware of the problem and working on it.
5. Plan Your Incident Response
Monitoring tells you something is wrong. Your response plan determines how quickly you fix it. At minimum, define:
- Who gets notified first? — The person or team responsible for the affected service
- What's the escalation path? — If the primary responder doesn't acknowledge within 15 minutes, who gets notified next?
- Where do you communicate? — A dedicated channel for incident coordination
- When do you update the status page? — Immediately, with updates every 15-30 minutes until resolved
Common Mistakes to Avoid
Monitoring Only the Homepage
Your homepage might be served from a CDN cache while your application server is completely down. Monitor the endpoints that actually exercise your infrastructure.
Ignoring SSL Certificate Expiry
An expired SSL certificate will make your site inaccessible to most browsers. Track certificate expiry dates and renew well in advance.
Setting Too Many Alerts
If every minor blip triggers an alert, your team will start ignoring them. Configure reasonable thresholds and use different severity levels for different situations.
Not Testing Your Alerts
Set up monitoring, then verify it actually works. Take a service offline intentionally and confirm that alerts fire, reach the right people, and contain useful information.
Getting Started
Setting up basic monitoring takes less than five minutes:
- Sign up for a monitoring service like Monitoristic
- Add your first endpoint URL
- Set the expected response code (usually 200)
- Connect a notification channel (Telegram or webhook)
- Create a status page for your users
That's it. You'll know within minutes whenever your site has a problem — and your users will have a place to check status without sending you a support ticket.
Don't wait for the first angry customer email. Set up monitoring today.
If your application depends on external services, consider monitoring them too. Our monitoring guides cover practical advice for services like Cloudflare, GitHub, and AWS — the dependencies your team relies on daily.
Related Reading
- Why Uptime Monitoring Matters — the business case in plain terms
- How to Choose the Right Check Interval — balance speed and noise
- How to Set Up a Public Status Page — keep users informed automatically
- Learn the terms: uptime monitoring, check interval, and expected status code